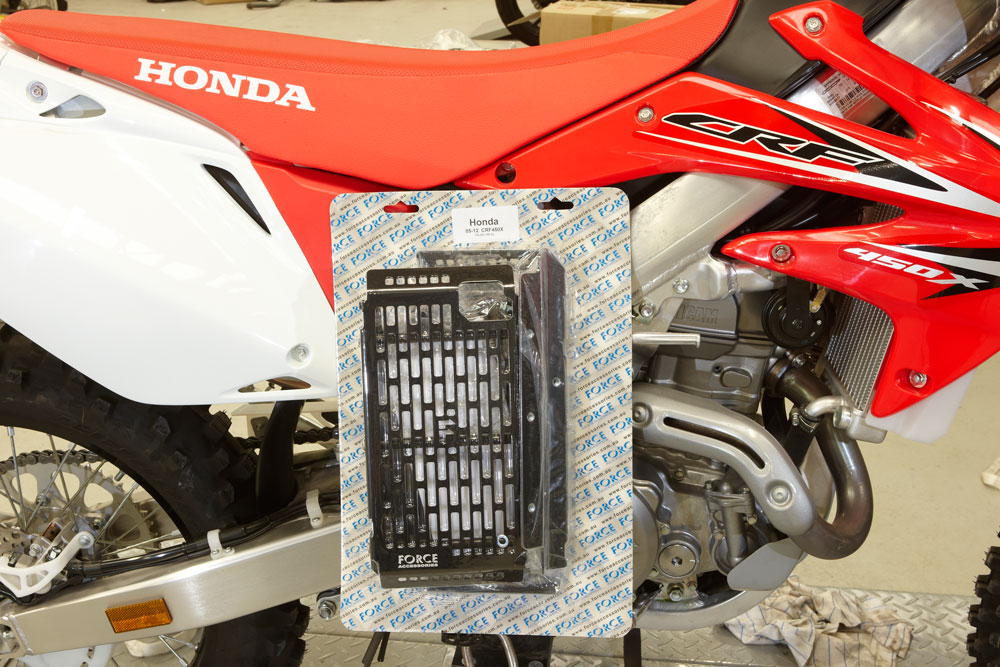
Water cooling an engine does allow the extraction of maximum horsepower but the temperature needs to be controlled. A problem with your radiator can lead to major concerns. Radiators are made of aluminium, which helps dissipate heat and is light, corrosion resistant and relatively strong. They are however not strong enough to survive impacts from accidents or even from rocks thrown up by your mate in front of you. Radiator guards are a great way to minimise the risk of cooking your engine.
STORY & PHOTOGRAPHY MAX SULLIVAN
SUPER SCOOP
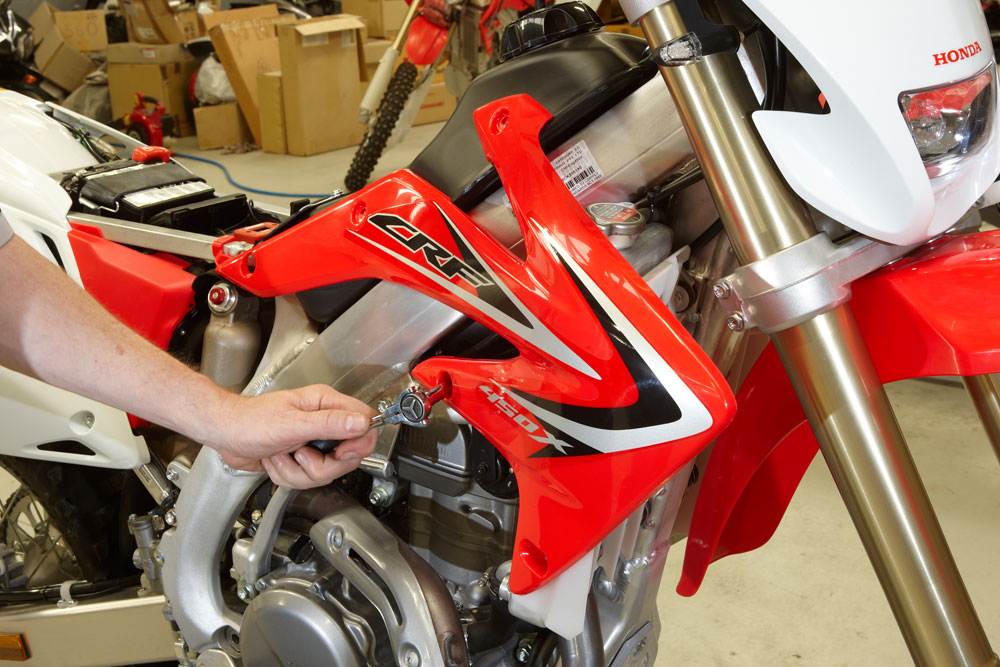
Radiators usually have very little protection on a standard bike. They are mounted either side of the frame and designed to catch air, which aids the cooling process. The radiator shrouds help scoop air and direct it to the radiator fins for efficient cooling. First step is to remove the standard radiator shrouds to gain access to the radiators. Some bikes will require the seat to be removed to gain access to the mount bolts for the shrouds.

DIRECT BLOW
It’s unusual to see a radiator with no protection at all over the front. The very fine alloy fins in a W pattern simply linking the thin vertical alloy tubes which transport the coolant. These fins just add to the surface area and aid the air-cooling process. To help protect the vulnerable components, manufactures usually put plastic louvres in place to deflect a direct hit from a rock while directing air flow through the radiator core. These now need to be removed.
CAPTIVE NUTS
The Force radiator guards I’m fitting to this CRF450X require the removal of the speed or captive nut, originally used to hold the radiator shroud in place. Note how fine the radiator fins and cores are. The upper and lower tank of the radiator are joined with 11 core tubes through which the coolant flows. Due to the small size of bike radiators, they rely heavily on air flow. A bike will still boil at idle if there is insufficient air flow over the radiator.

NO DRAIN
The new radiator guards will use the same mounting holes as the radiator. There’s no need to drain the coolant or remove the radiators; simply remove the two bolts holding the radiator to the frame. If it’s been a while since the coolant was changed, perhaps this is a good time to add that to the list and change it while you’re at it. Remember, the colour of the coolant is no indication of the condition of the coolant. If in doubt, change it.
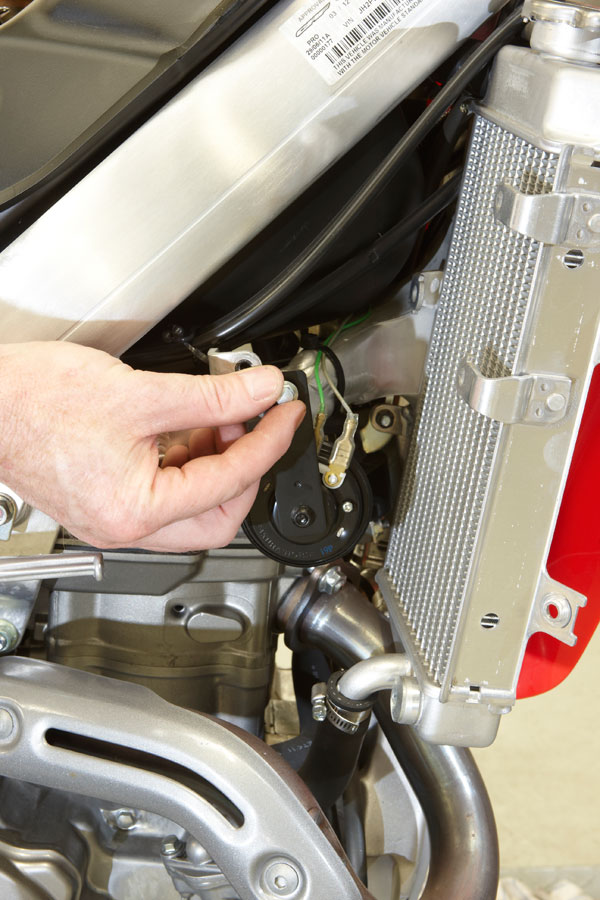
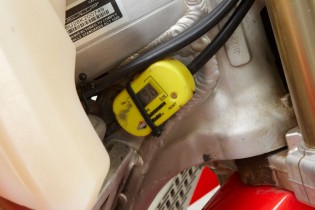
HORNY
If you’re working on your motocross bike, there’s no need to follow this step. However, road-legal trail bikes do have horns, so this one has to be removed for the moment. The horn mounting point will be used to secure the radiator guards. The horn will be moved to mount on the rear brace and, in this case, I also had to remove the fuel tank and shuffle the horn wiring a little to get the extra length I needed.

PLASTIC FANTASTIC
The mounting bolts for the radiator guard also go through the mounting points for the radiator itself. To stop the bolts falling out and giving you all sorts of grief, Force has included a simple plastic washer to secure the mount bolt while you get everything into place: a simple but very effective idea.
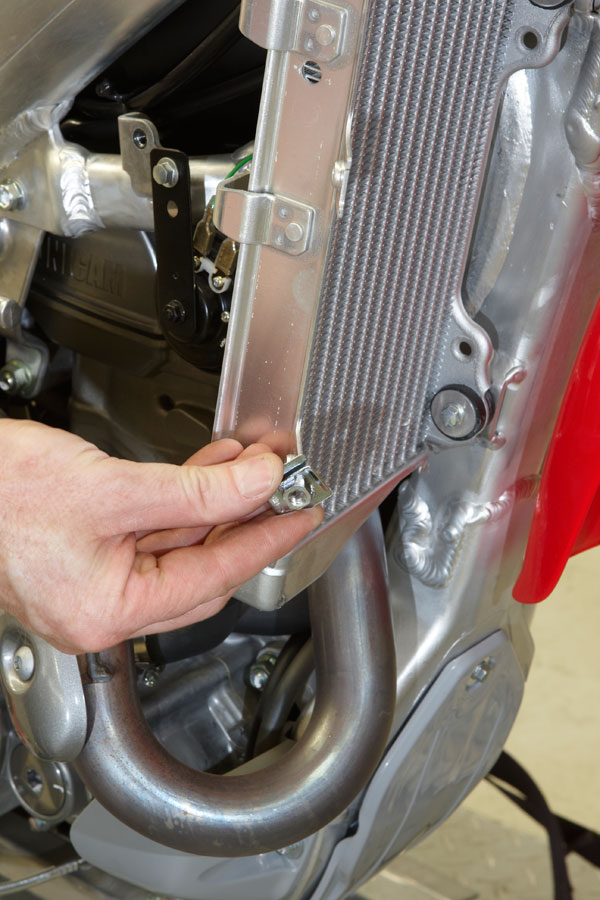
T TIME
Now you can see why the plastic washer will keep you free of stress. There is precious little room between the radiator and the radiator guard to access the mount bolts. Longer mount bolts are supplied to accommodate the extra thickness of the guards. A T-bar is much easier to use when mounting the radiator and guards — or use a ¼-inch drive socket set. Anything bigger will just make life hard.

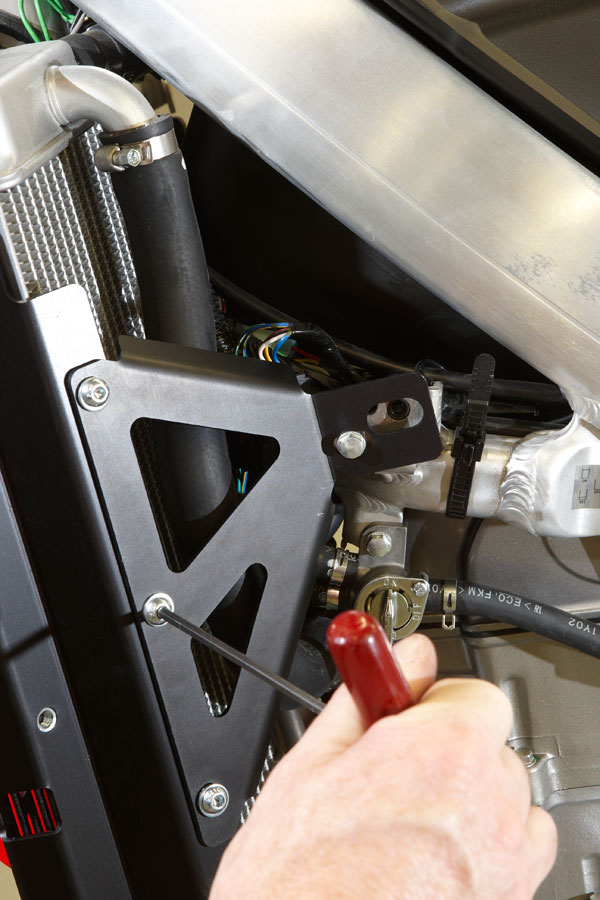
BRINGING UP THE REAR
The rear brace is now fitted to the radiator guard. It’s fitted now for two reasons: first, it makes mounting the radiator guard easier on its own; the second reason is the cut-out slots for mounting. There are three mount screws and each one has a small, elongated mount hole. This allows for small variations when fitting and the frame mount holes of the rear brace can now line up perfectly.
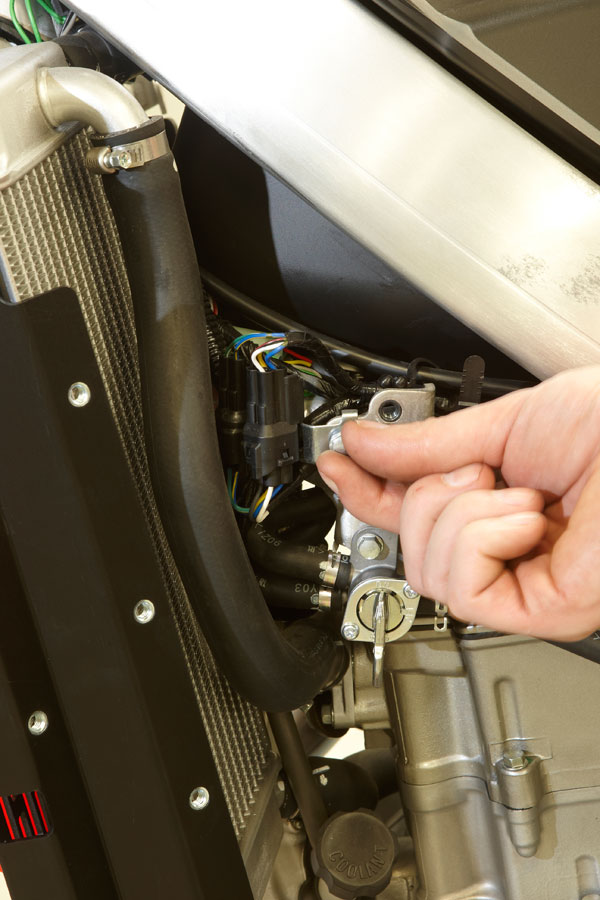
LEFT RIGHT LEFT
It’s now time to mount the left-hand side. There’s no reason you can’t mount this side first as each is independent of the other. Mount the radiator guard in the same manner as the right-hand side. The wiring coupling mount bolt needs to be removed when fitting the rear brace; similarly with the horn mount on the right-hand side. A longer bolt is supplied to accommodate the brace and coupling holder.
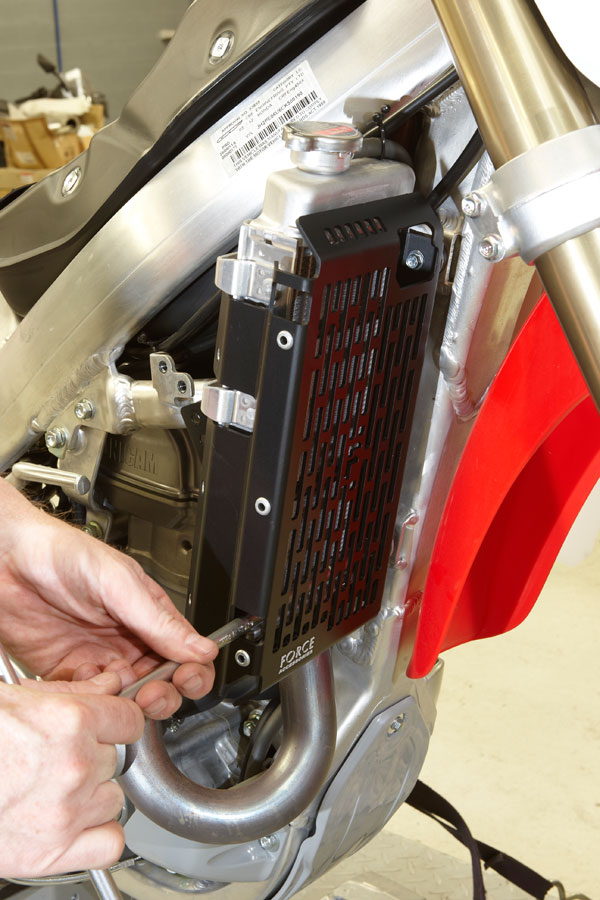
BLACK BETTY
Finally, the rear mount bracket is fitted. Now all there is to do is refit the radiator shrouds and seat and you’re ready to hit the trails/track with confidence. Radiator guards like these will protect you from side impact as well as the impact of sticks and rocks on the front of the radiator. While a rock or stick can puncture the core, a side impact can twist and fracture the radiator, causing a leak. Oh, and black anodised guards do look trick, too …