What enduro bike would be complete without a set of handguards of some description?
STORY & PHOTOGRAPHY MAX SULLIVAN
Most guys agree: hand protection is paramount on an enduro bike. There are way too many trees and obstacles lurking in the bush just ready to bark your knuckles and break your levers. Some handguards offer roost protection only; others offer a whole lot more. Here’s how to replace them.
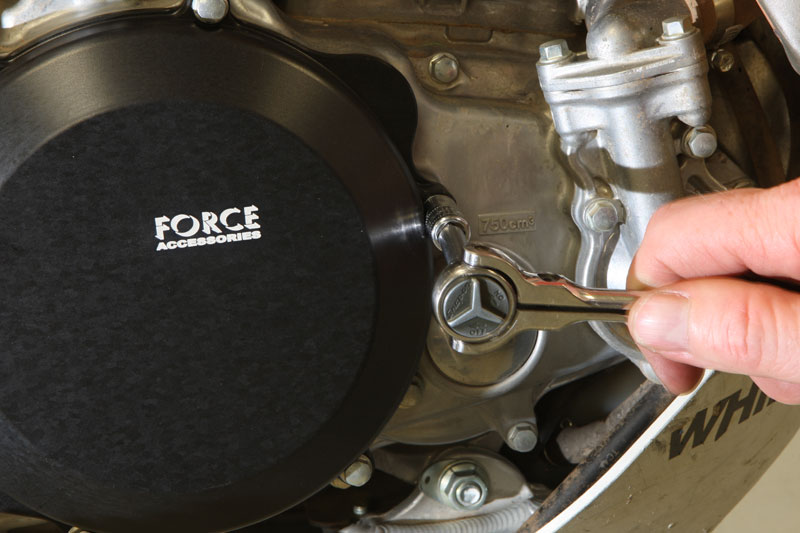
LOOSEN FIRST
When removing an existing set of handguards, it’s a good idea to loosen all the bolts first. Some corrosion may have set in over time and these bolts might take a little persuasion to unscrew. Just loosen all of them first, without removing them. If one is tight, it will be easier to tackle if the mounts are still in place. A little rust penetrate or heat may be in order if they are particularly tight.

END BOLT
The end bolt does not actually screw into the handlebars. Instead, it is screwed into an expanding flange that grips the inside wall of the handlebar. So to remove the end bolt, do not unscrew it all the way or the expanding flange will be left inside the handlebars and could be difficult to remove. Unscrew the bolt three or four revolutions till it is protruding from the end of the hand guard.
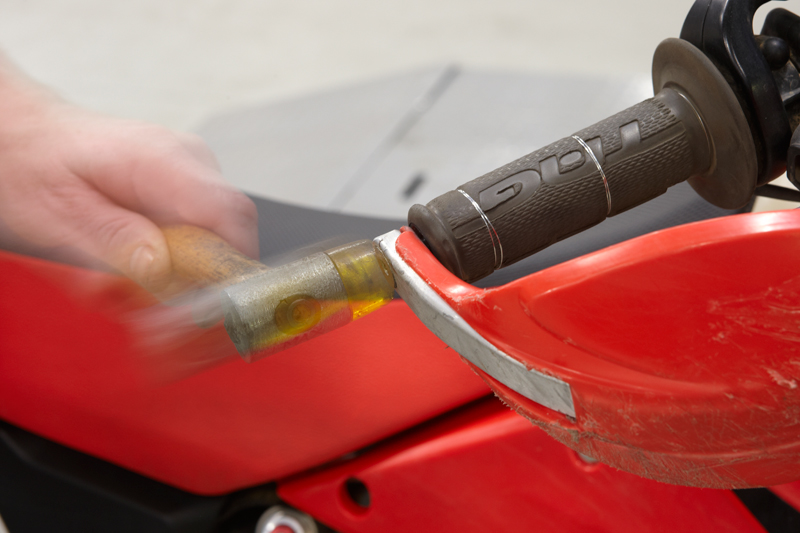
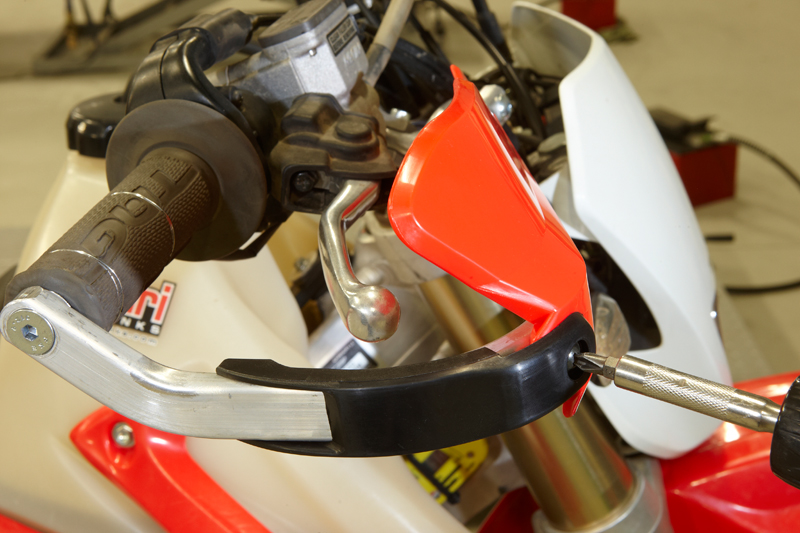
WHACKER
With the end bolt protruding from the guards, give it a sharp whack with a soft-face hammer. This will push the bolt and internal special nut further into the handlebar, releasing the pressure on the expander. The expander will now reduce in size, allowing you to slide the complete assembly out from the end of the handle bars. Completely remove the front bolt, holding the alloy bar to the clamp assembly, before attempting to slide out the expander.
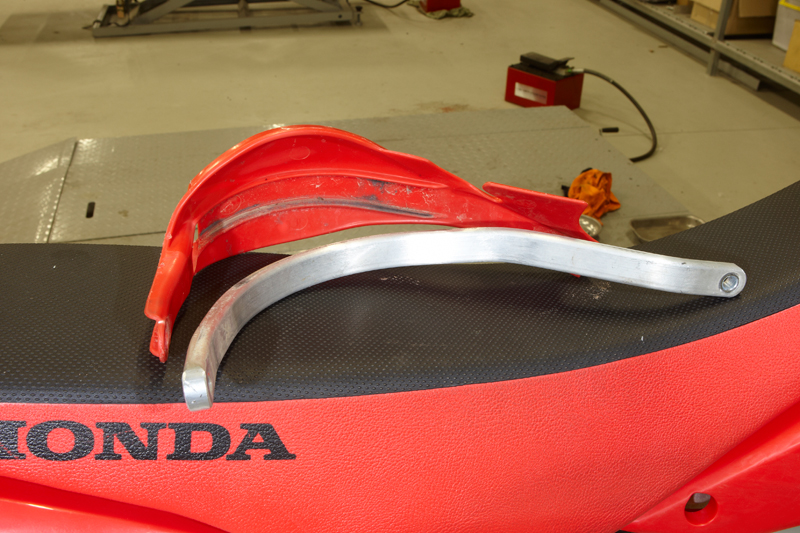
FACE LIFT
The plastic cover on these Ego Barkbusters slides over the alloy bar and is mounted at the front with one self-tapping screw. Since these handguards stood the test of time and survived crashes without bending the alloy bar, you could easily dress up the bike by replacing the covers with a new set. Once the guards are off the bike, just remove the screw, slide off the covers and fit a new set.

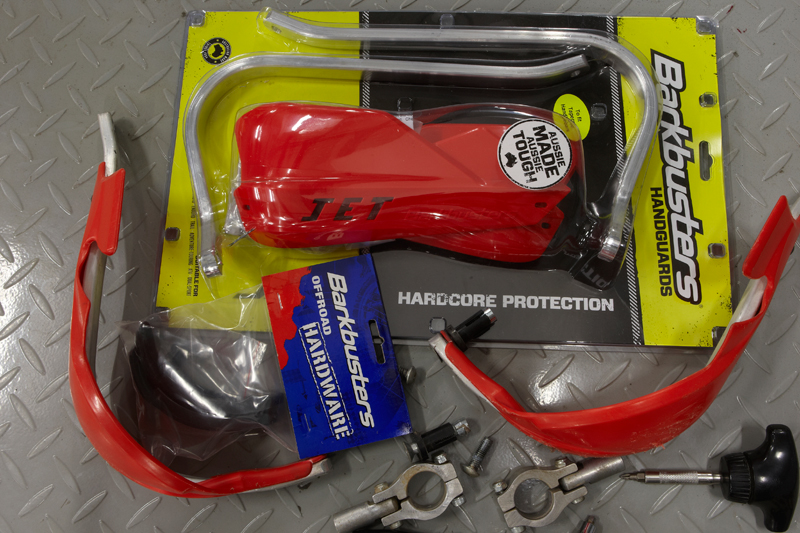
NEW LOOK
This time around I’ve chosen to fit a completely new set of Jet Barkbusters. The plastic covers are moulded to the shape of the alloy bar and fit up quickly with two self-tapping screws. The holes are pre-drilled in the alloy bar, so no guesswork is needed to get the guards in the right place. Don’t over-tighten the screws; just do them up till they seat and hold the plastic guard firmly.
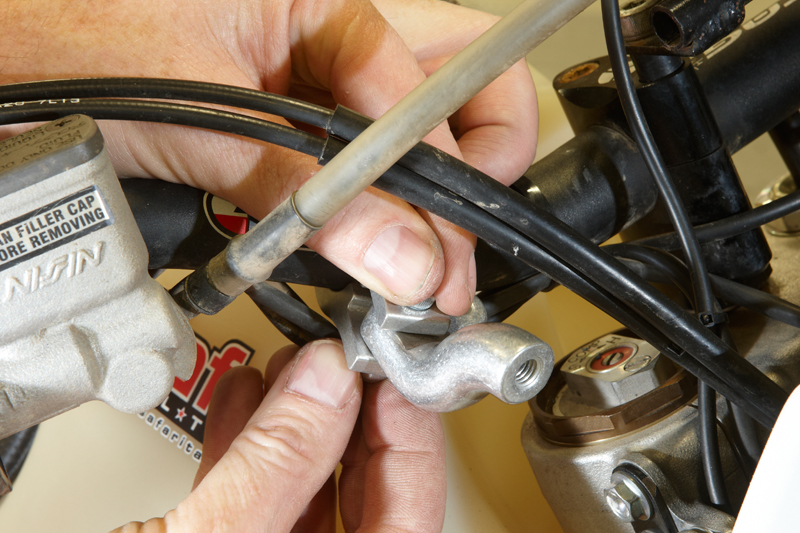
CLAMPING UP
When purchasing your handguards, make sure you get the correct mounts for your handlebars. Tapered clamps are used here and the inside of the clamp is marked with two lines to indicate which side the clamp belongs to. Mount the new offset bar to the front of the clamp and leave loose till the handguards are fitted. Once everything is in place, this bolt is tightened first on the clamp before the rear is tightened.
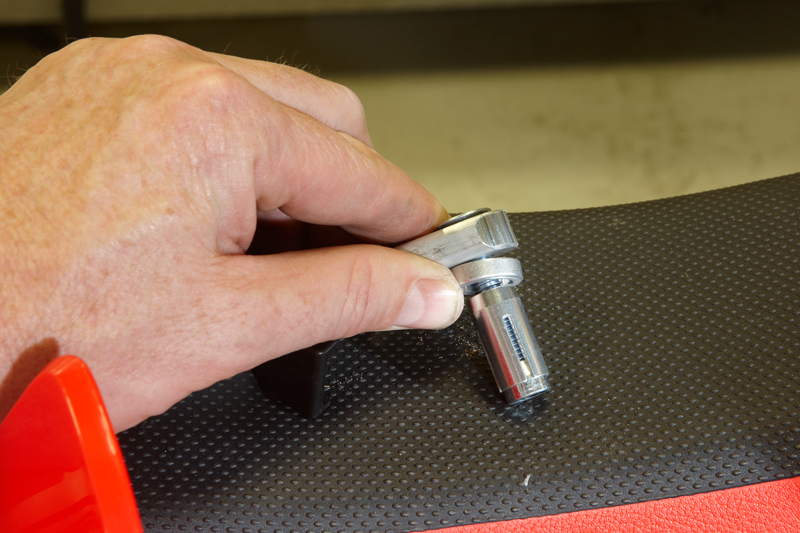
EXPANSION RATE
This is the expansion collar that fits inside the handlebar. Again, it needs to match the internal diameter of the handlebar. Mount the end bolt through the alloy guard, followed by the spacer, expander and finally the special tapered nut. This nut has a machined fin on it that slides into the flutes on the expander so the nut will not spin without tightening once it’s mounted in the handle bars. Do not use Loctite on this bolt!

FIRM FIRST
Slide the handguard expander into the end of the handlebars. If this is the first time you’ve fitted handguards, you’ll need to cut the end out of the grip and possibly the throttle tube as well. Tighten the end bolt just enough so it holds and make sure the spacer and alloy bar are all the way seated against the handlebars. Then you can mount the front mounting bolt through the alloy bar and into the clamp assembly that is still loose.

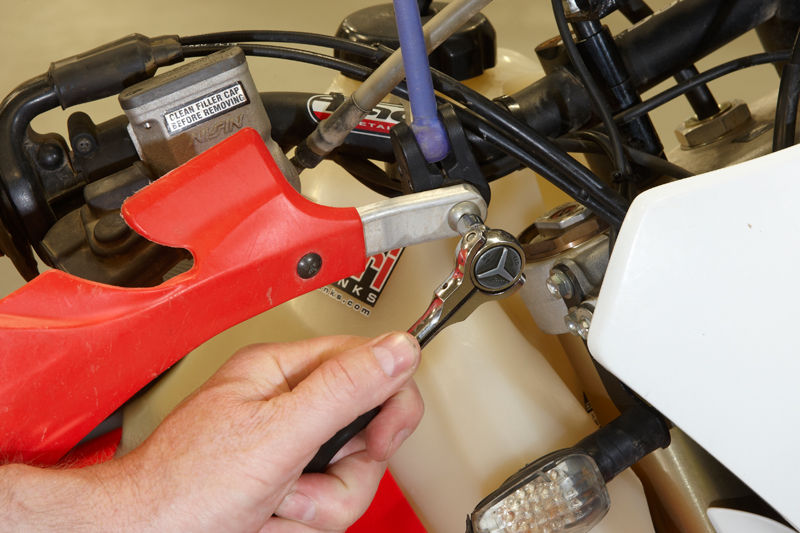
FINAL CHECK
Once you’re happy with the position of your handguards, you can tighten up all the bolts. The front mounting bolt needs to be quite firm, and some guys like to use a little dab of Loctite to stop it coming loose under extreme conditions. Tighten the clamp pinch bolts, starting with the front bolt. The end bolt can be tightened up, then check the throttle for smooth operation. Turn the bars from left to right and check the cables are free and the throttle does not bind in any position.
EXTRAS
If you ride like I do, you’ll be testing out the effectiveness of the Barkbusters in no time. I’ve opted to fit skid plates to the end of the handguards. These simply slide over the alloy bar and mount with one self-tapping screw. They will take the brunt of the knocks when the bike hits the deck and can be easily and cheaply replaced when they start to look too torn up. I’d best get myself a spare set.