If you ride off road, sooner or later you’re going to hit something big and hard. That could be a costly impact, so why not start out with the ultimate protection? The standard skid plates on enduro bikes are usually made of plastic or light alloy. These offer little protection in a big impact. Fitting a high-quality bash plate will give you peace of mind and protect against very expensive engine case damage.
STORY & PHOTOGRAPHY MAX SULLIVAN
ULTIMATE WINGMAN
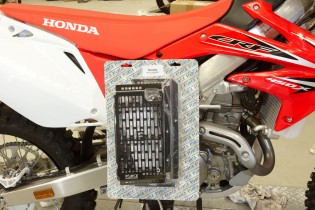
This CRF450X comes with a plastic skid plate and two side protectors for the water pump and rotor cover. The skid plate works well when you bottom out on loamy ground and offers some sort of protection for the crankcase and frame rails. The two “wings” on the side of the frame will deflect small rocks and roost but will do little to protect the vulnerable water pump housing in the event of a crash. Start by removing these three genuine parts.
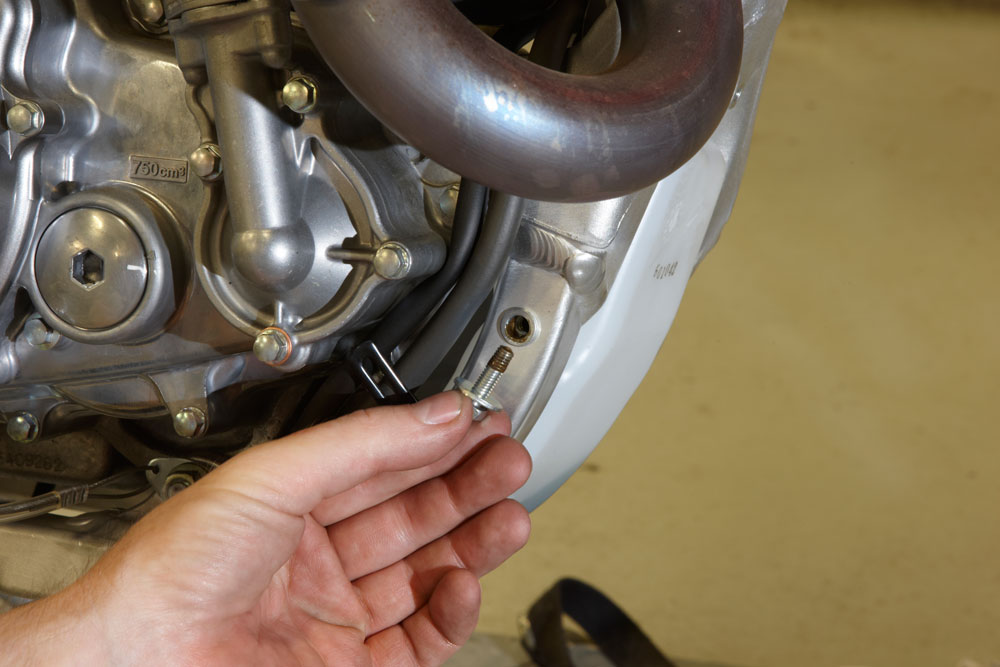
LIGHTNING BOLT
The lower mounting bolt for the side wings can be put back into the frame to block off the hole and prevent water and mud entering the frame rail. The upper bolt is used to mount the new bash plate front mounting plate. Apply some anti-seize compound to the bolt since most bikes will endure river crossings, mud and salt spray that, over time, will make these bolts difficult to remove. Prevention is better than cure.
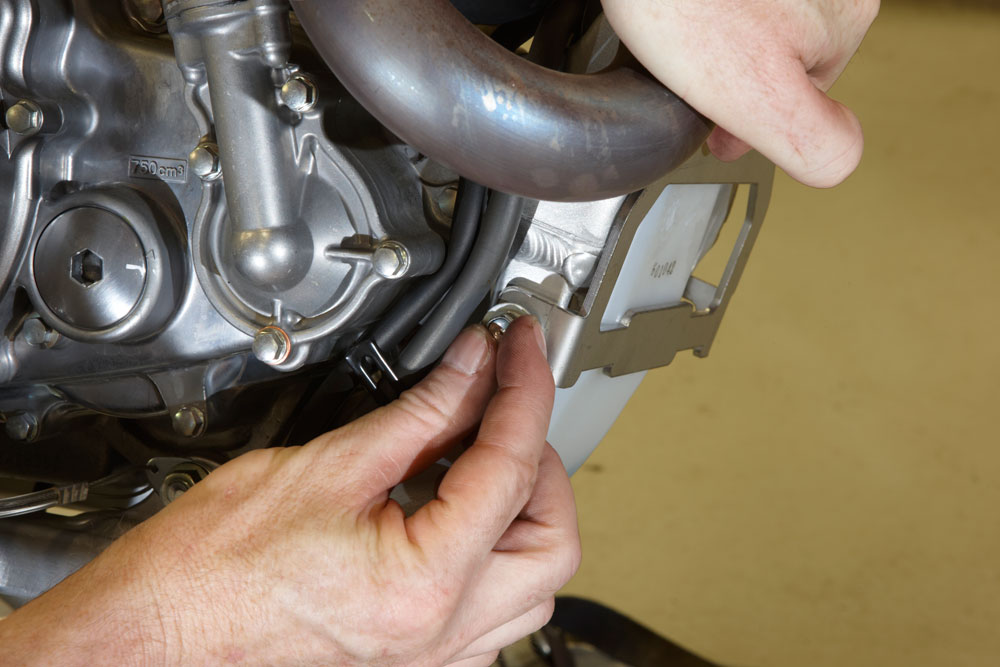
MOUNTING PLATE
The front mounting plate is made of stainless steel and laser cut. It also locates the coolant reservoir bottle in the lower part of the frame. The thread that the bolt screws into is in a nutsert, which is mounted in the alloy frame rail. Don’t over-tighten this bolt and, as mentioned, use some anti-seize compound. If the nutsert spins in the frame rail when undoing the bolt, it’s a very difficult job to remove and repair the thread.
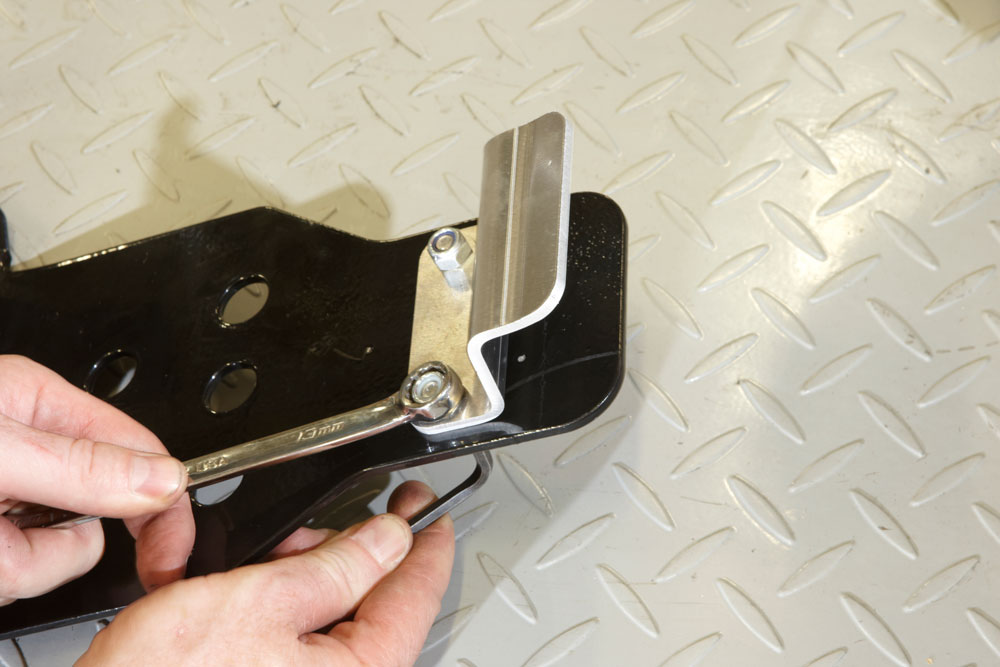
BACKED UP
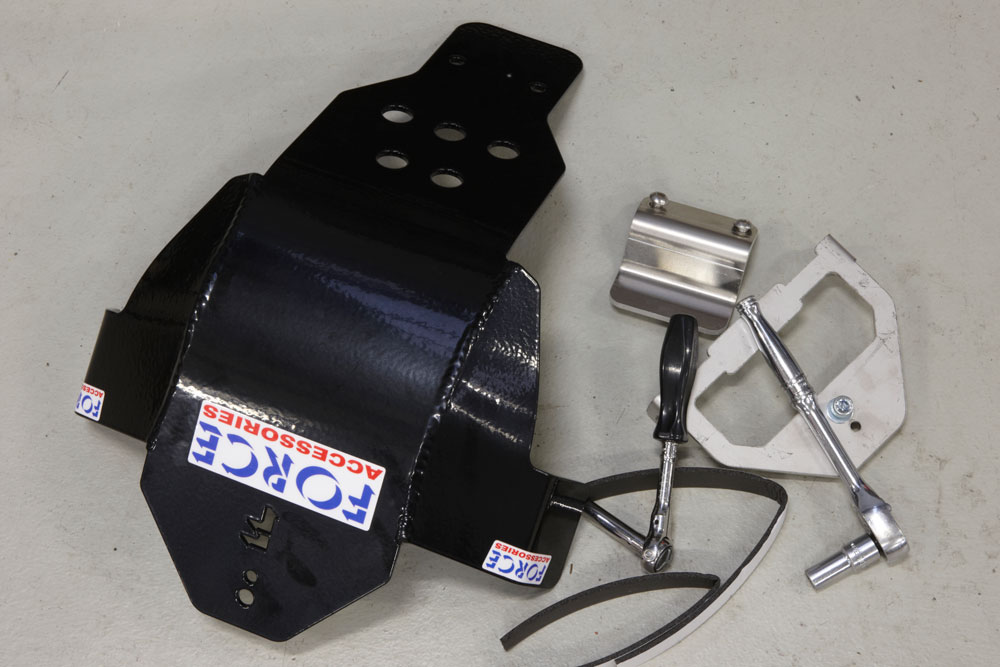
Next up, you mount the rear mounting plate to the bash plate. The bolts provided are button head Allen bolts, which have a smoother profile and are less prone to catching on objects as the bash plate slides over obstacles. The nylock nuts are just the right length to grip the bolts but not let excess bolt thread stick through. Notice the holes in the bottom of the bash plate to allow mud and water to drain away. A build-up of mud between the crankcase and bash plate will eventually increase engine temperatures.
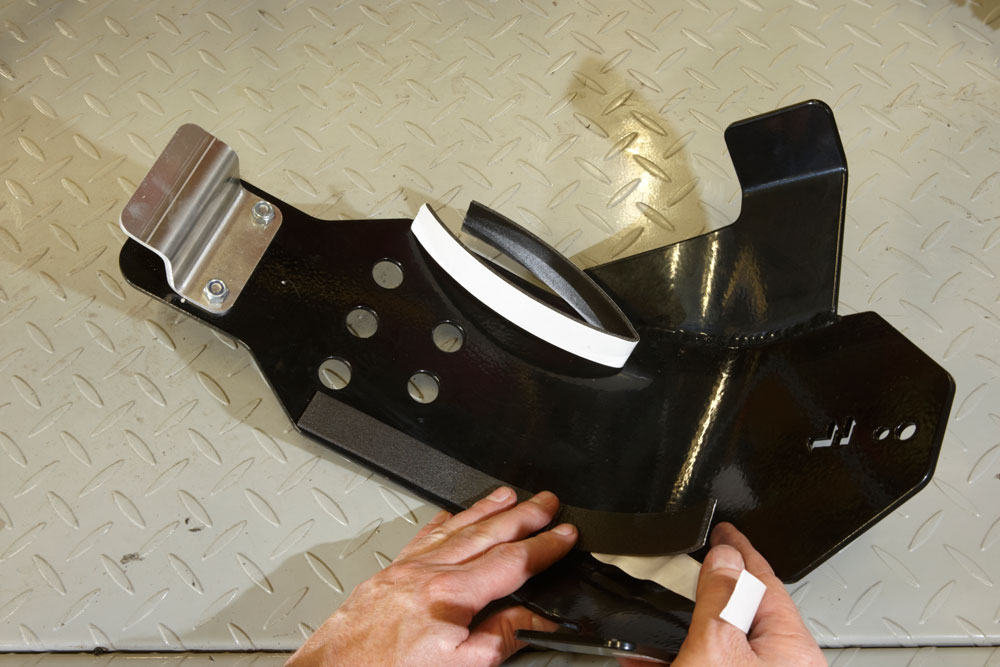
DAMPERS
Two foam dampers are supplied with the bash plate. Clean the inner surface of the bash plate then peel away the backing from the tape side of the foam. The two foam dampers are to be lined up where the frame rails rest. This will help dampen some of the noise, rather than have the bash plate resting hard against the frame rail. Don’t be surprised when you start up the bike as the engine will sound noisier due to the engine noise reflected back at you as it bounces off the bash plate.
KNOCKOUT PUNCH
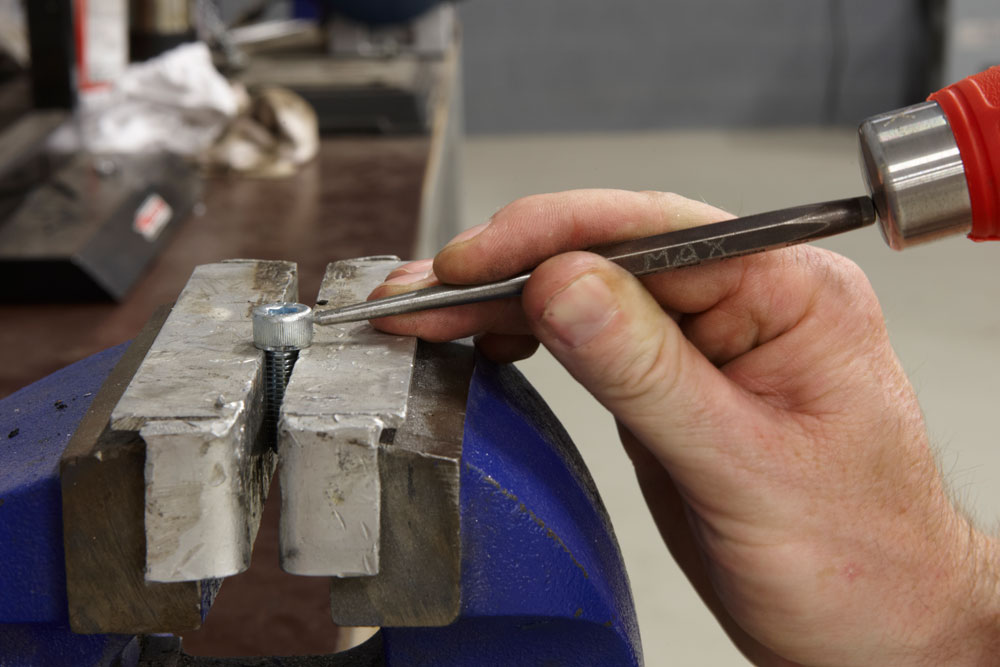
The bash plate uses only one mounting bolt at the front of the plate, which is great when the time comes for maintenance and quick removal of the plate. While this works extremely well, you do hear the odd story of bash plates going missing mid-ride due to the bolt falling out. While this is usually due to lack of maintenance, I prefer to add a little security by securing my mounting bolt. I start by centre-punching the side of the bolt.
DRILLING RIG
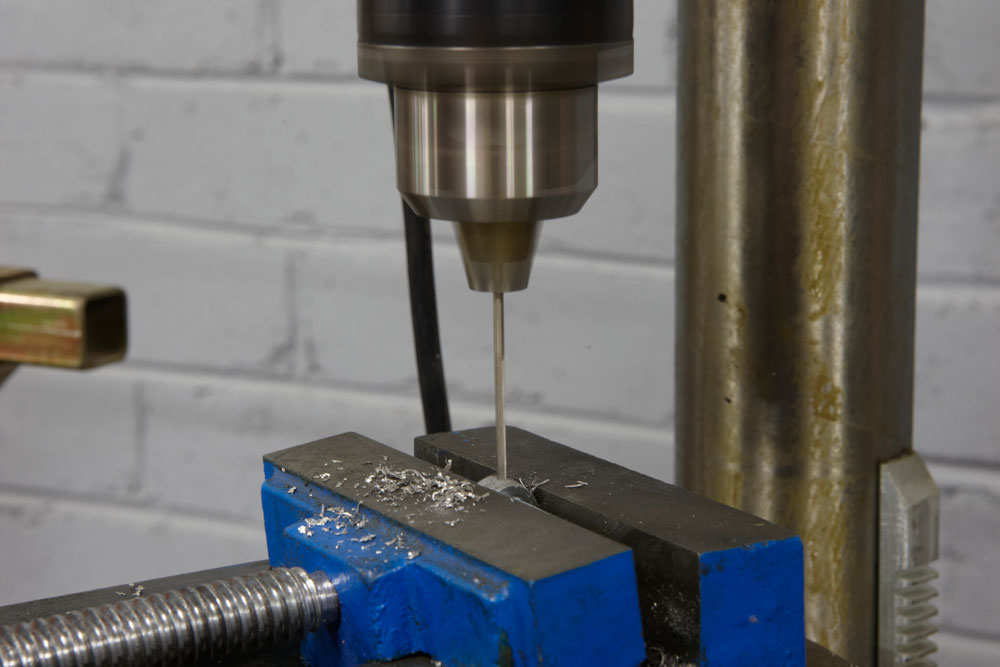
If you don’t have access to a drill press, you can mount the bolt in a vice and drill with a hand drill. If you have no vice, screw the bolt into a suitable hole in the bike to hold the bolt securely while you drill. Use a 1.5mm or 2.0mm drill bit. Remember, the smaller the drill, the faster you can operate it. Go easy and let the drill do the cutting. If you push too hard, the drill will flex and break, often leaving a broken part of the drill in your bolt.
MOUNT UP, BOYS
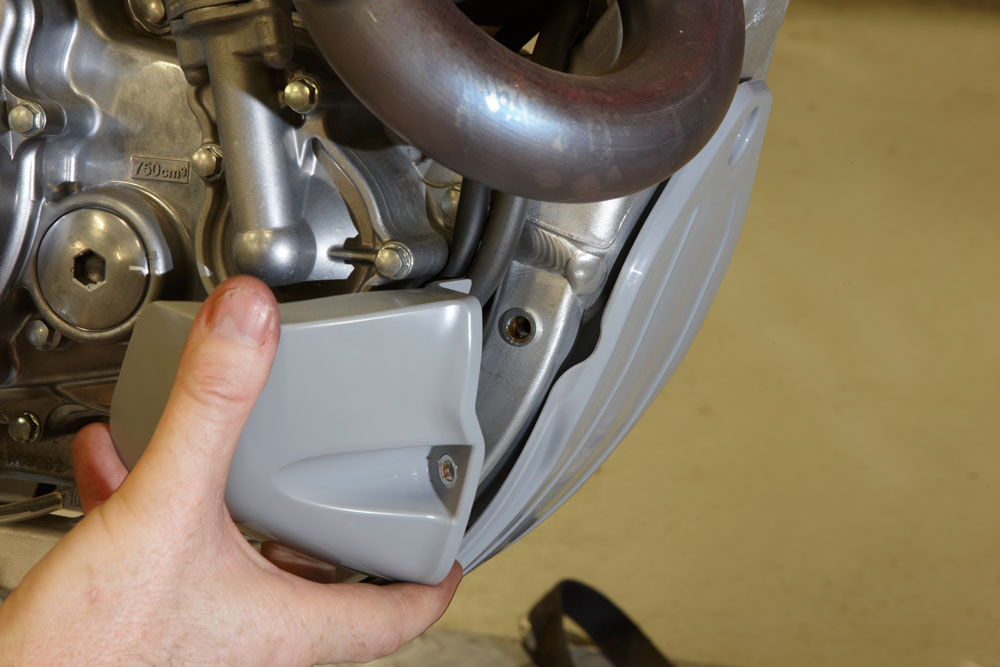
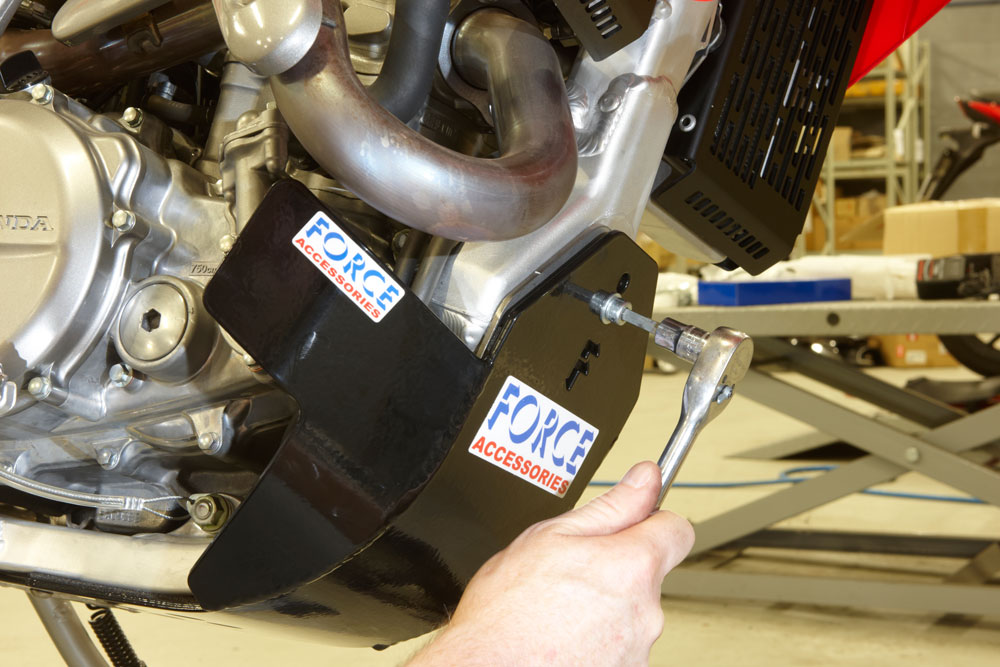
Mount the bash plate by sliding the rear of the plate up and back to hook onto the rear cross-member of the main frame. Lift the front of the plate up — this might take a little pressure since it’s new and the foam pads need to be compressed. With a little anti-seize on the front mounting bolt, screw the bolt in and tighten till firm. Note the level of protection now offered to the water pump cover on the right-hand side of the engine.
LOCK IT IN, EDDIE
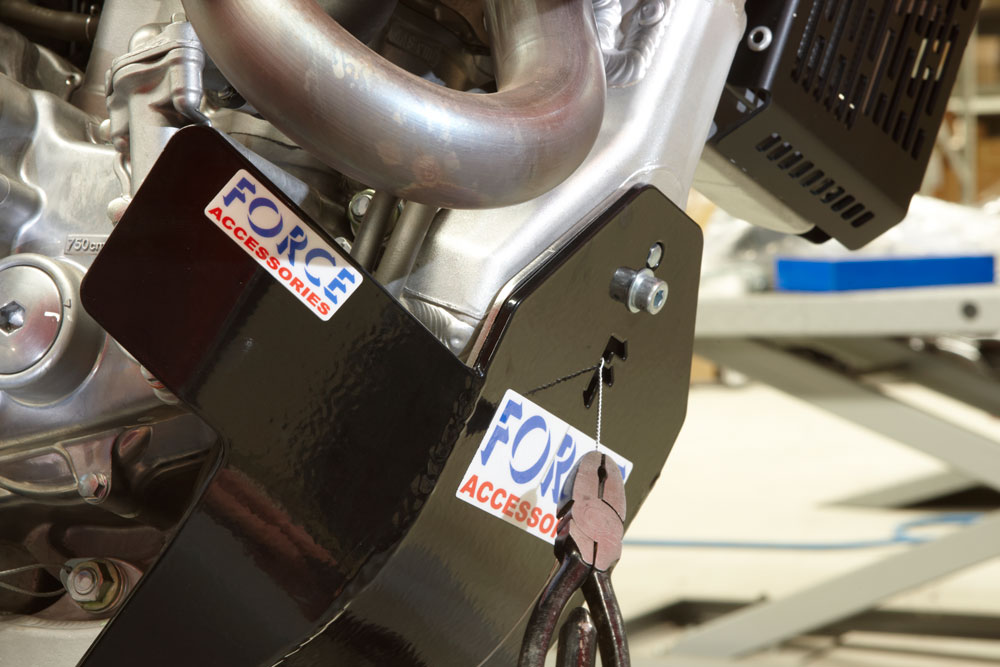
Next up, I want to add my own little protection piece for the single mount bolt. I start by wrapping some lock wire around the bash-plate hole and twisting. I want the wire long enough to do the job, but not so long that it gets in the way or hangs down and can be caught by tree branches or rocks. Previously, I would now slide the end of the wire through the hole in the bolt and lock-wire the bolt into position. But now …
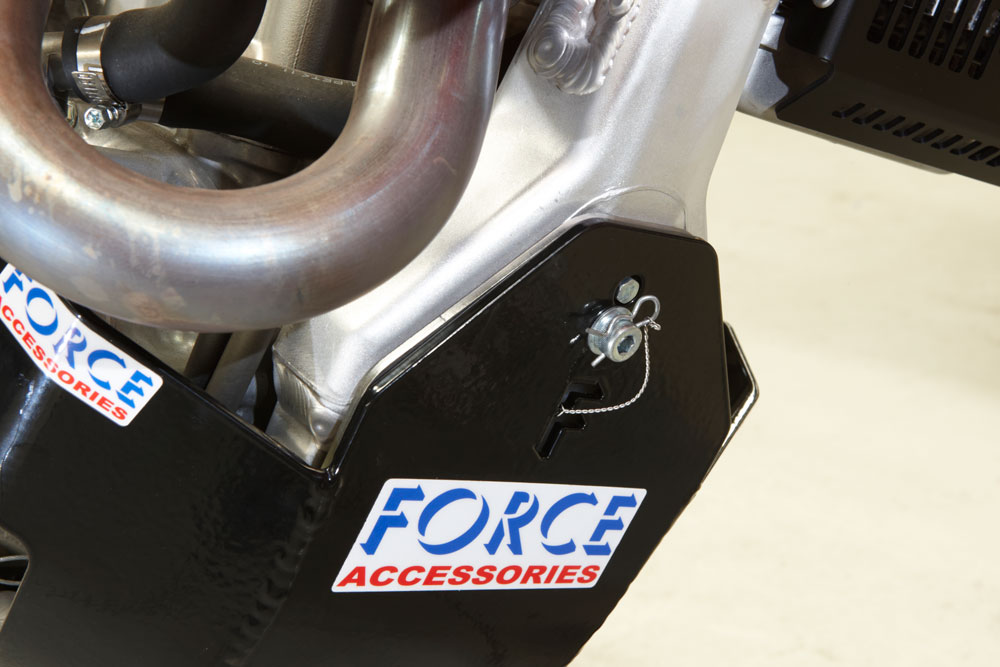
THE LETTER R
This time around, I’ve decided to use an R-clip instead. Put the free end of the lock wire around the R-clip and twist to attach the clip. Now I can simply pull the R-clip out of the mounting bolt and remove the bolt, followed by the bash plate. Only one tool is needed and I don’t need to grab fresh lock wire and lock-wire pliers every time I remove the bash plate to change the engine oil.