Feeling run down? A little flat? Maybe a new battery will help get you started!
STORY & PHOTOGRAPHY MAX SULLIVAN
A battery doesn’t last forever. You might be lucky and get a few years out of it — or maybe only one year. Sooner or later, you’re going to have to replace it. Here are a few tips for when that time arrives.

DOWN TO EARTH
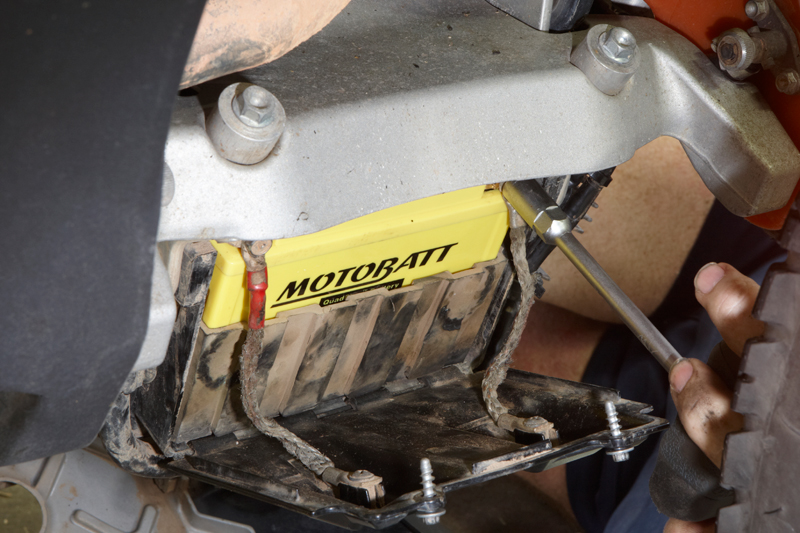
First thing you need to know is that even a flat battery can be dangerous. If a lead shorts out, it can still cause all sorts of problems from fried electrics to burns or even a fire. Take care when working around batteries and remember that the black lead is the negative pole, also known as earth. The frame and engine of the bike are earth as well, so this is why you loosen the negative terminal first.
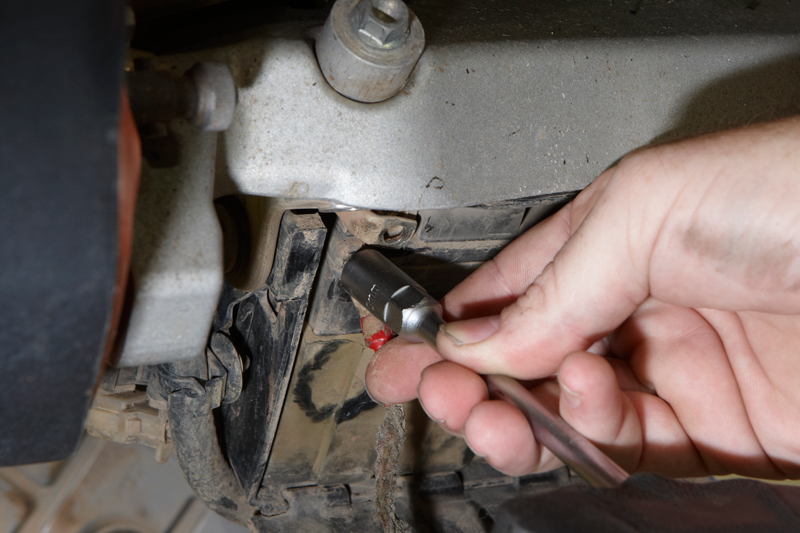
ABSOLUTELY POSITIVE!
Once the negative lead is removed from the battery, you can now safely remove the positive cable: the red one. If the negative lead was still connected and you happened to touch the frame with your spanner or screw driver while disconnecting the positive lead, the battery would short out. A huge amount of current would pass through the spanner or screwdriver, creating instant heat and possible fire. So always disconnect the black negative cable first!
HIGH VOLTAGE
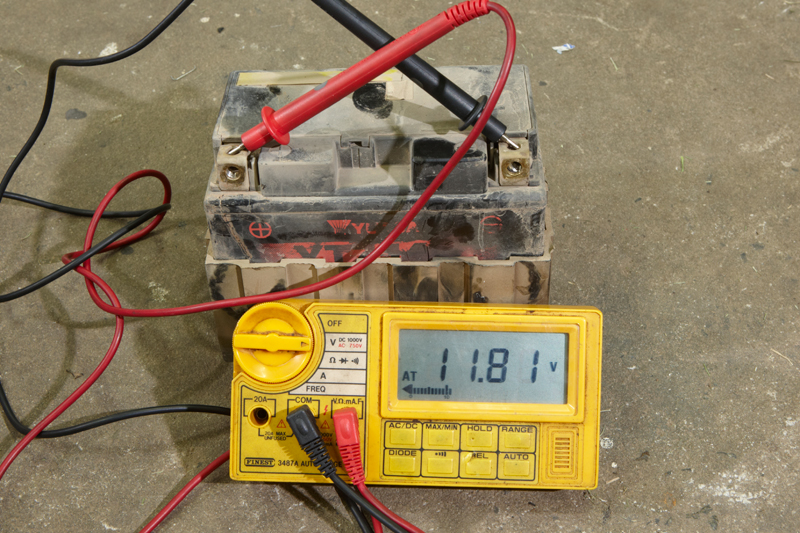
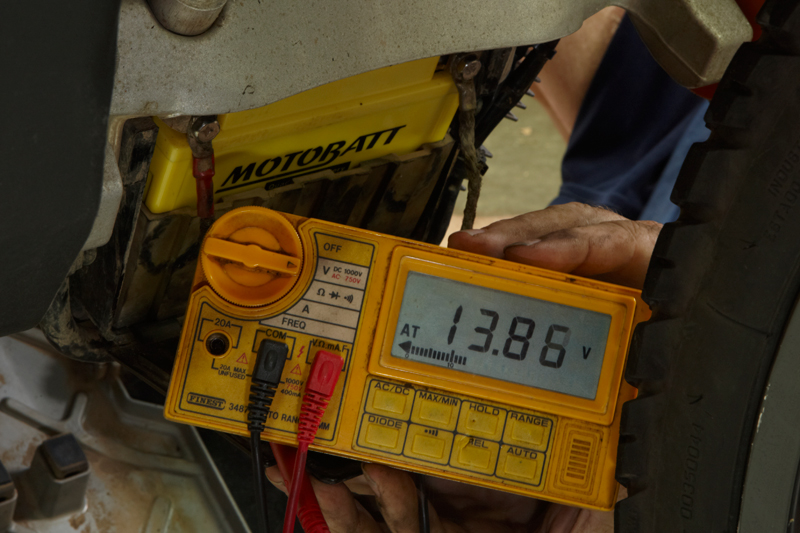
Even before disconnecting the battery, you can check the voltage in it using a multimeter. Set the meter on DCV (direct current volts) and take a reading across the positive and negative terminals. A 12V battery should have at least 12.8V in it and a fully charged battery should contain 13.2V. Any lower than 12.8V and you’ll find the battery may not hold enough charge to start the bike. Keep the meter connected to the battery as you attempt to start the bike and watch the voltage drop. If it gets to around 10V or lower, it might be time to charge or replace the battery.

HEAVY LOAD
If your battery’s gone flat, charging it might not help it recover. Often, the voltage will be correct but the battery will have no power (or amperage) to turn over the engine. The best thing to do is charge the battery, let it cool for 30 minutes or more, then check the battery with a load tester designed for small batteries. It will give you a more accurate reading of the battery. If, under load, the battery drops to 9.5V or less, it’s time for a new one. After load testing, always recharge the battery on a battery charger before refitting it to the bike.
WET WET WET
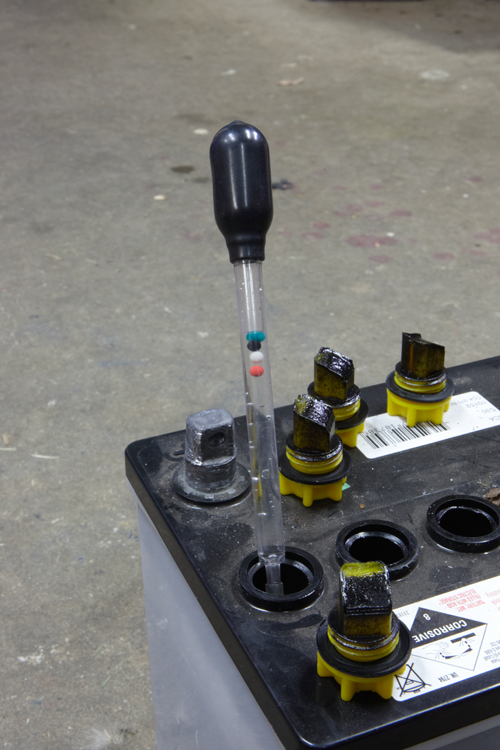
Wet lead acid batteries are not as common as they used to be in motorcycles. If your bike has one, you need to maintain the electrolyte level on a regular basis. Use only distilled water to top up the battery, or demineralised, which is the next best thing. Tap water should not be used, nor battery acid, as this changes the ratio of acid to water. The normal tests listed above can also be used to test wet batteries; however, you can also use a battery hydrometer which will show you a state of charge via the amount of balls floating.
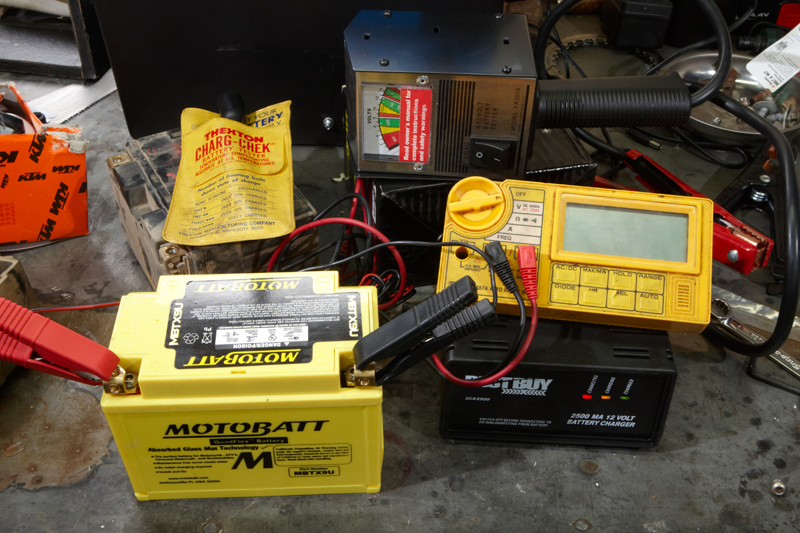
ALL CHARGED UP
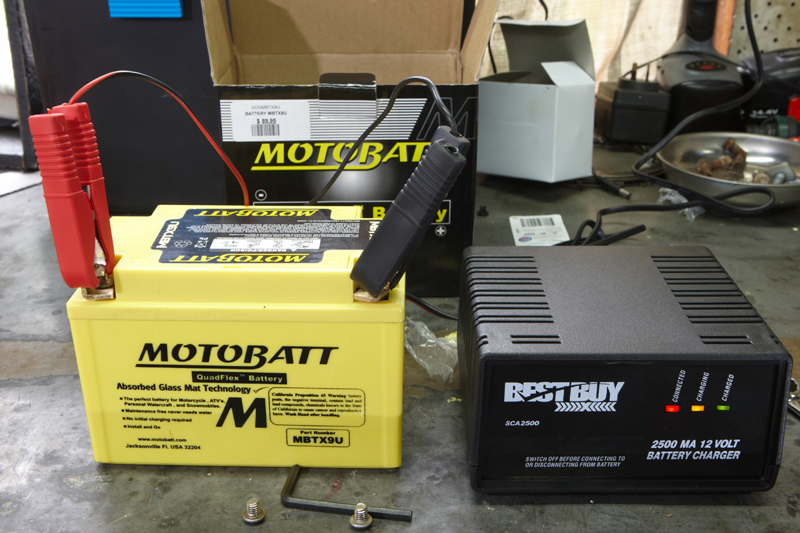
Depending on the type of battery you’ve bought, it may need “wetting up”. This can involve adding electrolyte to the battery and sealing the top, if it’s a maintenance free battery. An AGM (Absorbed Glass Matt) battery like this one arrives ready to go into the bike. Regardless of the type of battery, I think it’s a good idea to charge the battery prior to use in the bike. Just make sure your battery charger is suitable for the type of battery you have. Some smart chargers will automatically detect the type of battery, while others will require the battery type to be selected.
READY TO ROCK
When fitting the new battery, measure it up against the old one first. Just a few millimetres difference in height might ruin your day when the terminals short out on the frame rail. Also note the terminals and ensure they’re on the correct side before fitting the leads. Finally, fitting of the battery leads is opposite to the way you took them off. Fit the positive (red) one first to avoid any nasties if you touch your spanner or screwdriver on the frame. Fit the negative cable last. Make sure they’re firm — but not so tight you deform the terminals.
CHECK YOUR VOLTS
Now that the new battery is fitted, it’s best to check the charge rate. If there’s a problem with the bike’s charging system, you want to know now, before you destroy your new battery. A simple voltage test will generally tell you if the system is working OK. Start and run the bike with the voltmeter attached. The voltage will vary but you’re looking for an increase in voltage as the revs rise. At approximately 5000rpm, you want to see a minimum of 13.5V up to a maximum of 14.8V. Any higher or lower and you need to start looking at the charging system.
AMPED UP
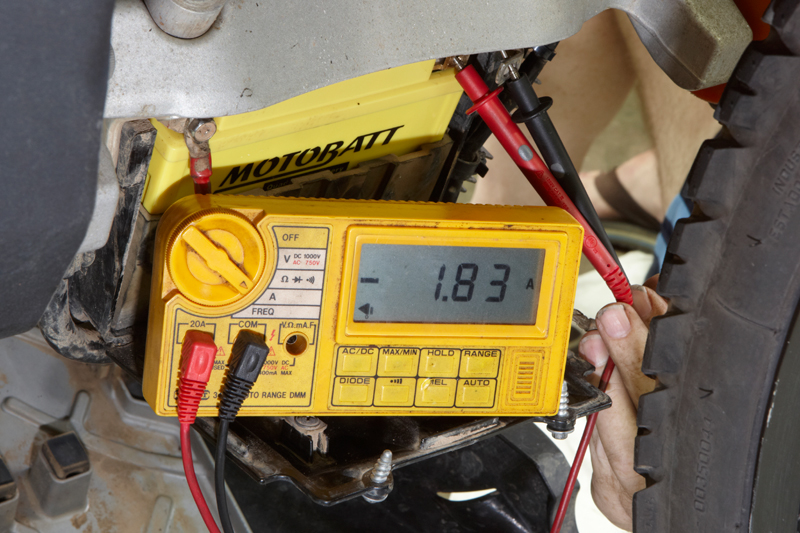
Checking current draw can help pinpoint charging system faults. If you disconnect the negative lead and use an ammeter, you can test the current flow into or out of the battery. With the ignition turned off, there should be no current flow. You can also start the engine (although you must connect the battery terminal and lead as you start the engine to avoid destroying your meter, then pull them apart to allow current to only flow through the ammeter) and check if the battery is charging or being discharged. This photo shows a discharge of 1.83A.
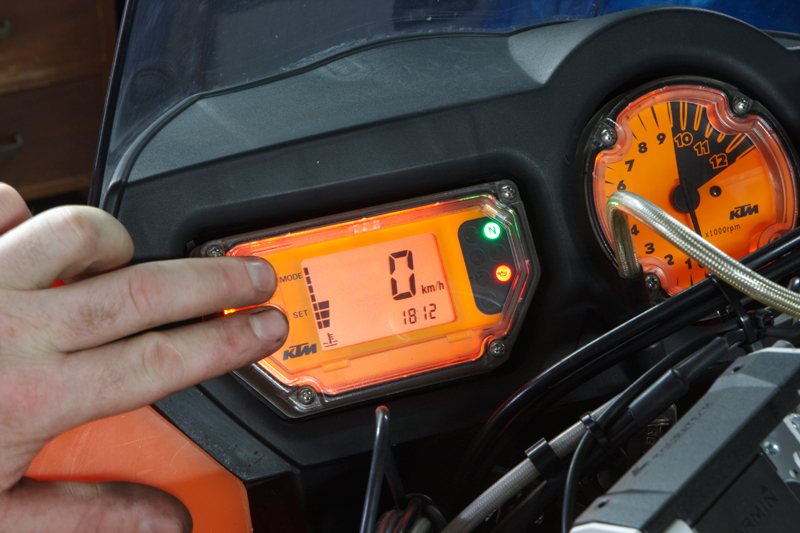
RIDE TIME!
Now, not many smaller off-road bikes have clocks but if you ride a big off-roader you now need to reset the clock. Most are set just by a series of button pushes to get the digits to flash, then a single button push to adjust. If you do have a clock on your bike, it can often warn if your battery’s about to fail. If the clock resets to 0.00 when you start the bike, it generally means the voltage has dropped below the clock’s threshold voltage, causing it to reset. That tells you the battery is getting weak — so check it before heading out on that big outback ride.