
Applying Motocross graphics can be daunting! But never fear, some simple tips and tricks can make life a lot easier.
![IMG_5273[1]](https://www.dirtaction.com.au/wp-content/uploads/2017/09/IMG_52731.jpg)
WHAT YOU NEED TO APPLY YOUR MOTOCROSS GRAPHICS:
- Rag
- Isoproyl Alcohol or similar cleaner
- Knife
- Squeegee
- Water bottle for wet method
- Heat gun
- Clean environment
- Patience
![IMG_5291[1]](https://www.dirtaction.com.au/wp-content/uploads/2017/09/IMG_52911.jpg)
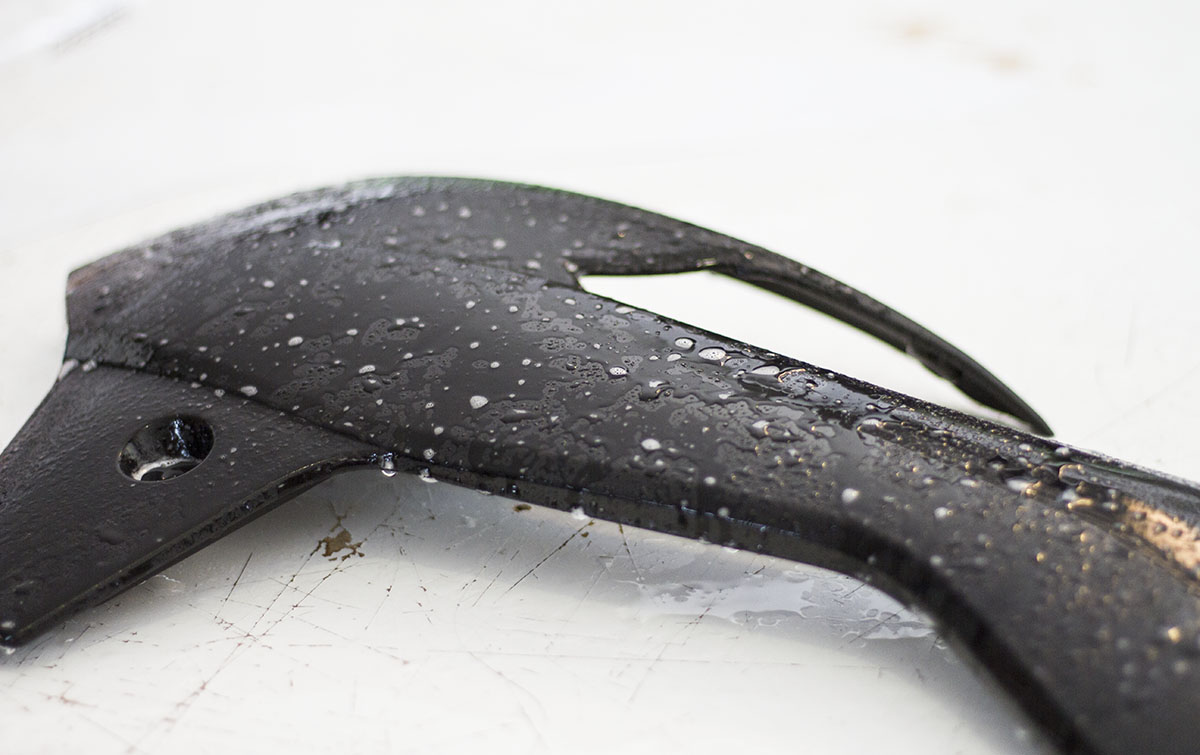
CLEAN THE PLASTICS
- Preparation is key when applying graphics. Used plastics must be free from all glue, residue and dirt. We are lucky to be starting here with brand new Acerbis plastics, which makes life easier.
- Clean all plastics with Isopropyl alcohol. Metholated spirits or contact cleaner will also be suitable.
- Brand new plastics need to be cleaned as they have a coating on them to ensure they are nice and shiny on the shelf.
CHOOSE YOUR METHOD
- Wet or dry. Talk to your graphics supplier as they may have a preferred more successful method for their material.
WET METHOD
- Mix up a spray bottle with a very small amount of dish washing liquid and water, around 4 drops to 1L of water.
- Line your graphics up with the plastics to ensure you have the correct graphic for your bike.
- Remove the backing paper totally.
- Spray the sticky side of the graphics with a decent spray of water.
- Spray your plastics with a similar amount of water.
- Slap your graphics on the plastic, sliding it around to ensure prefect alignment.
- Once you are happy with the positioning, start to work the water out from under the graphics. Much the same way you would be sticking on graphics dry. Using a squeegee will make this method a lot easier.
- Sit the plastics to the side to let the moisture completely evaporate. Sit them in the sun, or leave them in the shed overnight if possible.
- When you return to your plastics. Go over the graphics completely to ensure all of the decal is stuck down.
- Once it’s all applied, use the heat gun to get the graphics nice and warm. The graphics will soften and be easier mould into any groves or mouldings in the plastics. Heating motocross graphics also activates the glue and makes them last better. Ensure the heat gun is moving at all times to keep from burning a hole in your fresh new kit.
DRY METHOD
- Line your graphics up with the plastic to ensure you have the right decal for that part of the bike.
- Peel the backing paper in the section you’d like to start applying from. Fold it and crease. Don’t remove complete backing paper as per the wet method.
![IMG_5289[1]](https://www.dirtaction.com.au/wp-content/uploads/2017/09/IMG_52891.jpg)
- Start applying the decal from one side to the other.
- Once you have made it to the fold. Peel some more paper back, continually applying the graphic, little bit, by little. On a section such as this flat front fender, it’s quite simple.
- If you were doing a difficult exhaust side number plate with a large curve, focus on applying across the centre of the plate, following the peak of the curve. Once that is stuck down, slowly work from the centre down the valley to the top of the plate, working outwards. Repeat on the bottom of the plate. Applying heat helps soften the material to conform to the shape of the plate.
- Heat is your friend when it comes to moulding graphics on difficult plates, you can mould and manipulate the material to fit.
- Trim off any excess material.
- Once you have applied your graphic. Grab the heat gun. Heat the entire sticker to help soften the decal and allow the glue to grab the plastics. Don’t ride your bike for a minimum 48 hours once installed. Grab a beer and admire your handy work.
![IMG_5298[1]](https://www.dirtaction.com.au/wp-content/uploads/2017/09/IMG_52981.jpg)
TOP TIPS
- Relax. You can almost always fix mistakes.
- Take your time.
- Heat is key. Keep your graphics and environment fairly warm. Cold graphics are stiff and firm, warm graphics will mould easily.
- Clean the back of your plastics as well. Putting your hands on silicon spray or dirt, then onto your graphics when applying, can totally ruin your graphics.
- Trim back anywhere where there is overhang, any areas where water can get under the decal will limit your graphics life span
- Do them as early as you can. Sticking graphics on the night before the race is a recipe for disaster. As a rule an absolute minimum 48 hours is needed before you ride. Longer if its been applied wet.
- Drain the fuel tank before applying two-stroke graphics. Fuel vapours can cause graphics to lift. Leave the tank empty as long as possible to allow the glue to bond.
- If you are unsure about anything, chat to your graphics supplier.