Replacing a rim, or some damaged spokes isn’t as hard as it sounds. If you take your time, just a few simple tools will have you laced up in no time
STORY & PHOTOGRAPHY MAX SULLIVAN
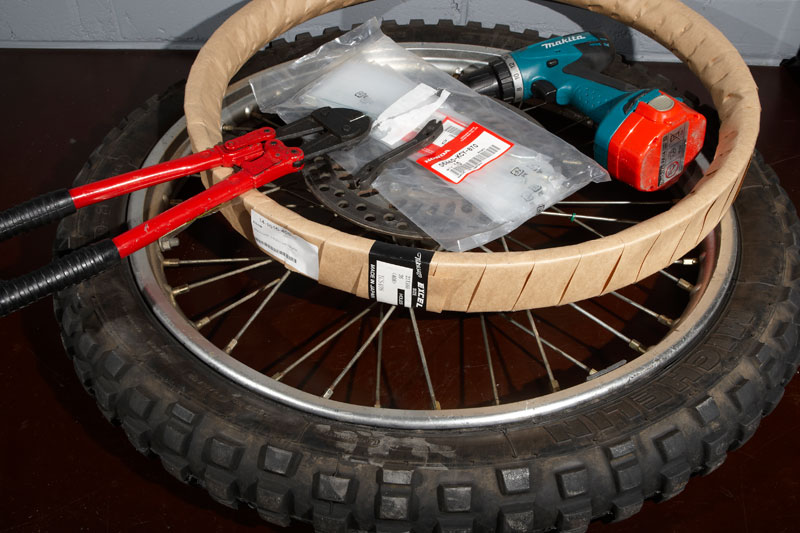
Damaged rim, wider rim, broken spokes, seized spokes — these are all reasons you might need to re-lace a motorcycle wheel. While a wheel jig does make it easier, this is just as achievable at home in the garage with the wheel mounted on the bike and not much more than a spoke spanner.
STARTING POINT
First up, remove the wheel and take off the tyre and tube. Start by loosening all the spokes a few turns by hand with a spoke spanner. If you come across one that won’t turn, or the spoke spins in the hub, mark these with a texta or similar. If the majority of spokes loosen up, you might only need to replace a few. Some spokes are sold individually while others are sold as sets, so check what’s available for your bike.
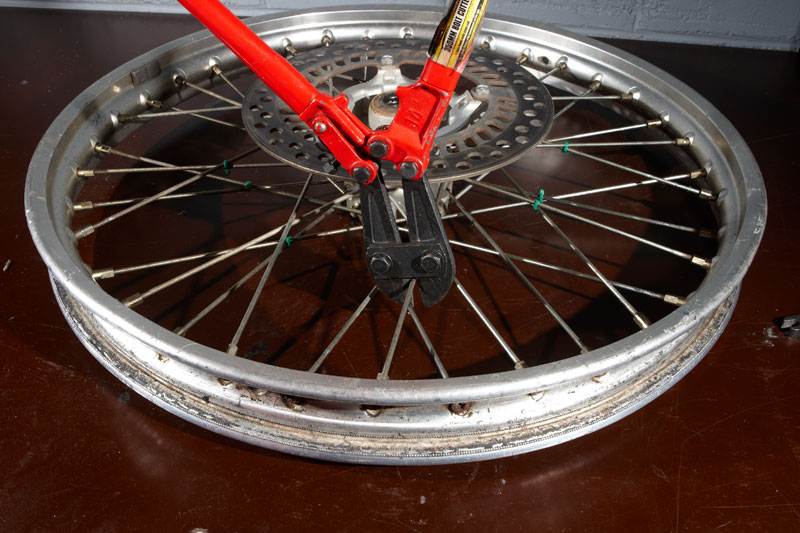
QUICK RELEASE
Often, when a nipple is seized on a spoke, the spoke will turn in the hub. This makes removal of the nipple near impossible and definitely time consuming. A quick-release method is to use some bolt cutters. Why not? You’re not going to use that seized spoke, anyway. If you’re fitting a completely new spoke and nipple kit, just reach for the bolt cutters first, lay the rim down and start cutting.
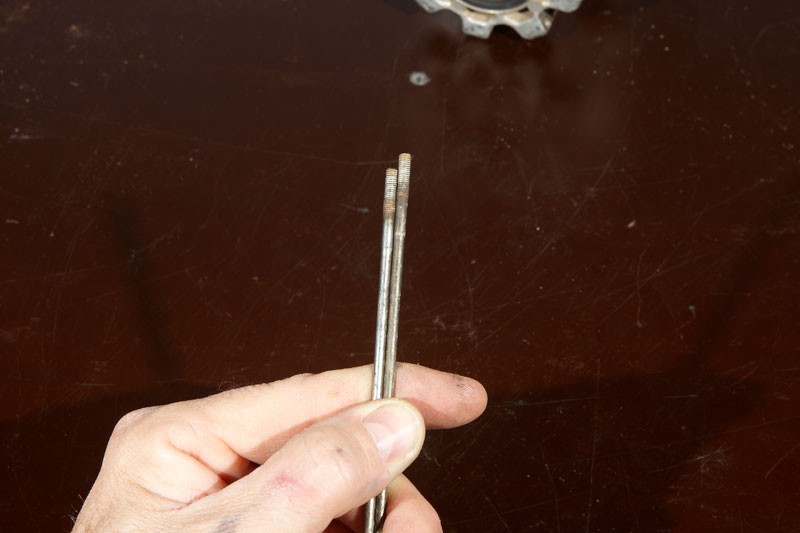
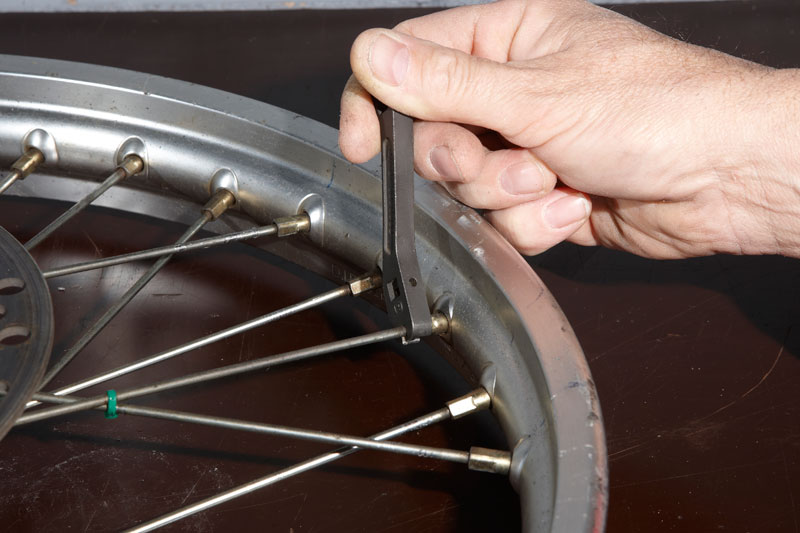
WATCH YOUR LENGTH
Different wheels require different spokes. This front wheel uses the same spoke in each place on the hub. Some variations use “inner” and “outer” spokes, while others use disc-side and non-disc-side. Some old-school rims can have four different types of spokes to make up the one wheel (disc-side inner, disc-side outer etc). So be sure to check you have the right spoke for that position. Sometimes the length might be different by only a few millimetres.
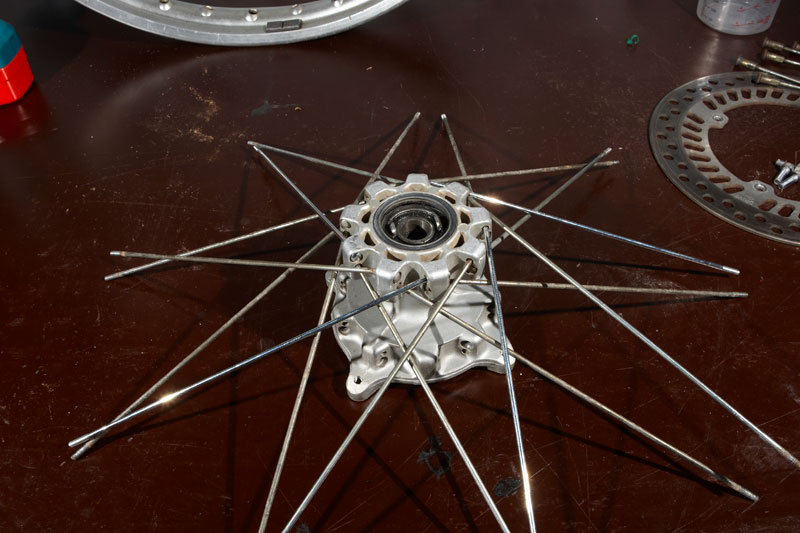
FIRST SIDE
I’m starting by placing all the spokes through on the speedo-drive side of the hub: first the inner spokes, followed by the outer spokes. A few spokes are being replaced while the remainder are being reused. The new spokes have been spread evenly around the hub. Wherever possible, a complete new set of spokes and nipples should be used with a new rim and/or hub. Once these are in place, flip the hub over, ready to fit the rest of the spokes.
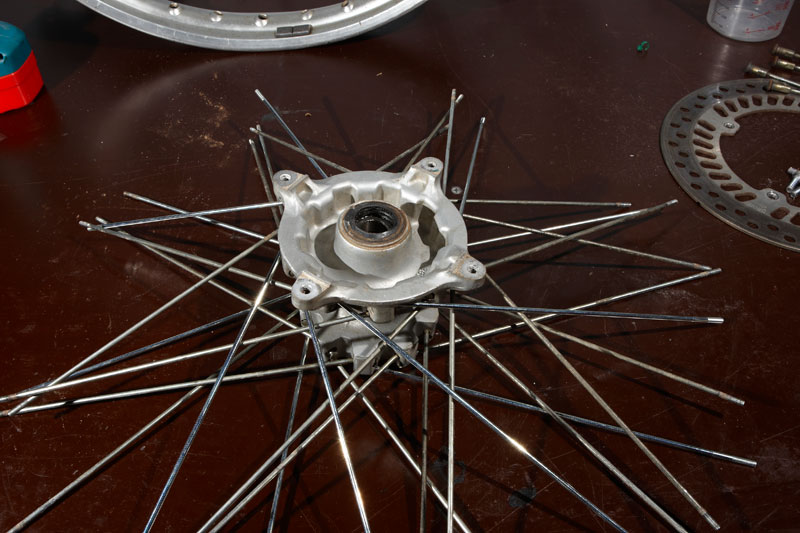
SECOND SIDE
As with the first side, start by feeding through all the inner spokes first. Then slide the outer spokes through, making sure each one crosses over the top of the inner spoke. It might look a bit messy but it will all fall into place soon. Some people like to cable-tie the spokes as they cross over to help keep the shape while fitting the rim, but I find this unnecessary.
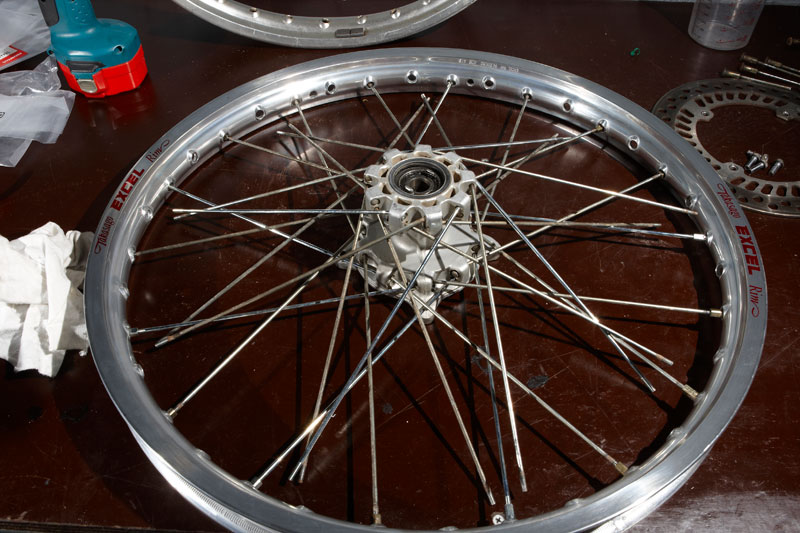
THE FUN BEGINS
Start with one spoke — say, the disc-side outer spoke (closest to the table). Find the hole in the rim that the spoke naturally fits into. There will be four different angled holes and only one will seem obvious (points anti-clockwise and toward the table). Put the spoke through and secure with a nipple. Now get the next disc-side outer spoke and put it into the fourth hole along, which will be the same angle. Just work your way around, then start with another set of spokes.
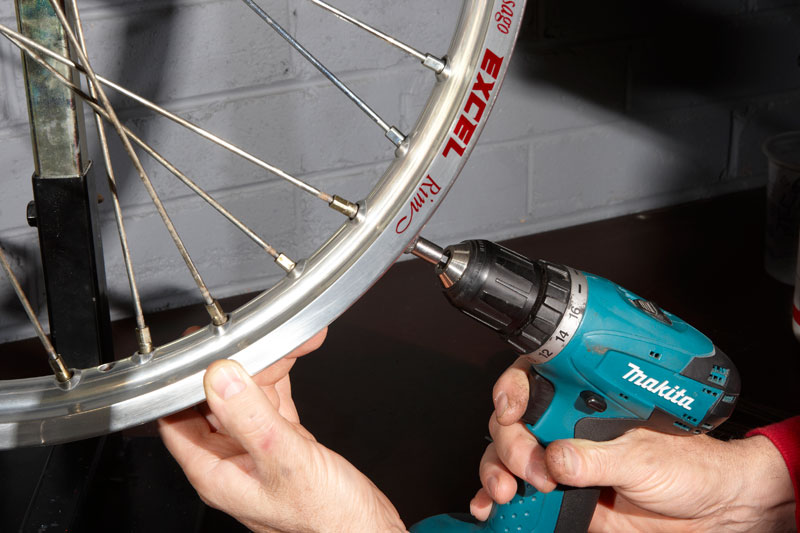
ELECTRIC FRIEND
OK, so this might seem lazy but, trust me, it takes a long time to spin up 36 nipples! I use an electric drill fitted with a screwdriver tip (or allen tip) to initially spin up the nipples. You don’t want to put any pressure on them — this is just to take up the slack. I usually find if you spin the nipples up so you can only just see the thread on the spoke; this will leave a good amount of slack to complete the job by hand with a spoke spanner. I’m not worried about truing the rim at all at this stage.
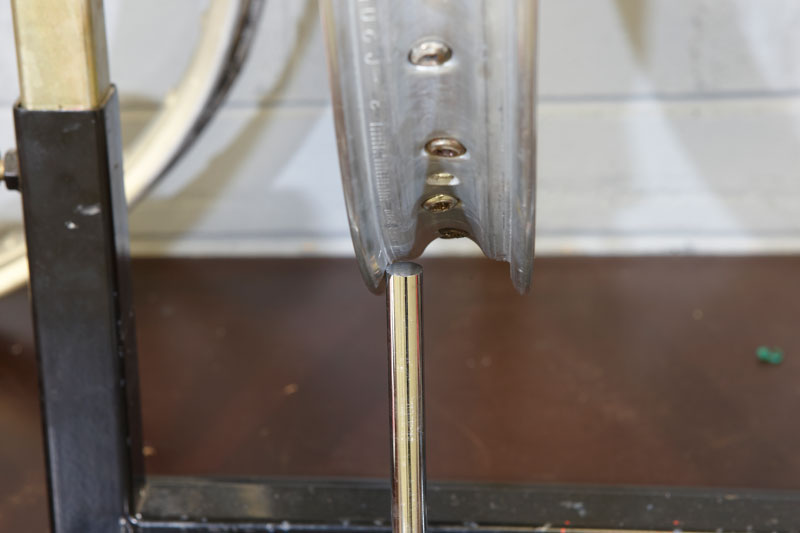
UP’N’DOWN
I prefer to work on the lateral runout first. Once there is a small amount of tension on all spokes, fit the wheel into a jig or place it back in the bike so it can be spun on the axle. Measure the up-and-down movement first. On the low spot, loosen both the left- and right-hand-side spokes. On the high spot, tighten both the left–hand-side and right-hand-side spokes. This will pull in the high spot. Continue to fine-tune until there’s only a few millimetres. You can fine-tune this once the horizontal runout is addressed.
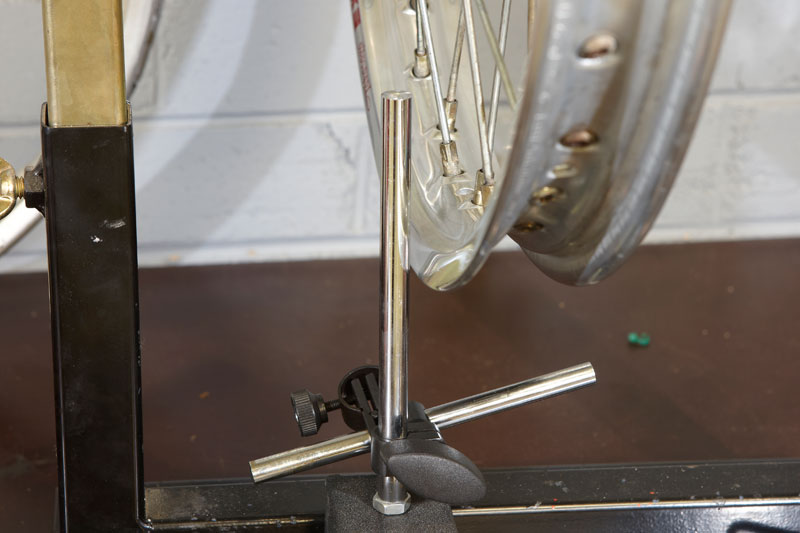
SIDE TO SIDE
Now work on the horizontal runout. Find the spot where the rim is closest to the indicator bar; here, the rim is to the left. Now loosen the spokes on the left side then tighten the spokes on the right side of the rim. This will pull the rim away from the indicator bar. Find the spot where the rim is furthest from the indicator bar and do the opposite to pull the rim closer to centre. Turn the spokes only a half-turn at a time. Work slowly and methodically; you won’t get it done in one go.

OFFSET
Once you have your radial and horizontal runout sorted, the rim should be true and ready to fit. Maybe — you can still end up with offset. This XR650 front wheel actually has a measurement to be checked, from the disc mounting surface to the edge of the rim. This will give us the correct offset and make sure the rim is mounted in the middle of the forks. If you don’t have specifications to refer to, it’s best to take some sort of measurement prior to dismantling the wheel.